


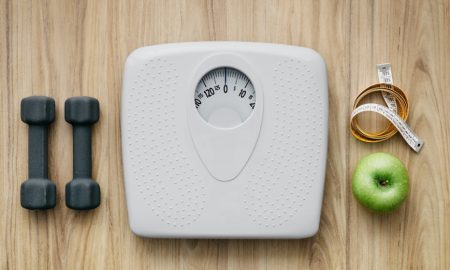
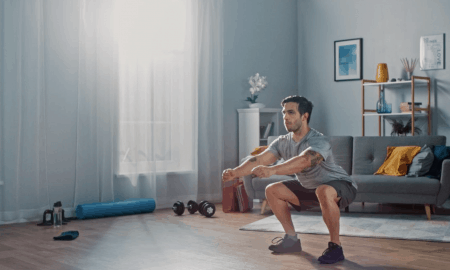
If you managed to become a home gym lover during the pandemic, you aren’t the only one. Many of us kept ordering equipment and setting it up in our gyms (or all over our apartments). Our gyms kept growing (just like our muscles). That was all good and great, but what happens if you have to move?
Let’s be honest — even if your home gym is small, moving the equipment is going to be a hassle. Once you actually decide to move houses or apartments, you’ll quickly realize that moving the equipment in, one piece at a time, was much easier than packing everything and moving it to a different location.
So, no matter how small (or big) your home gym is, you’ll need a solid plan.
Step #1: Clean Everything
Before you actually start packing or moving anything, you need to get everything prepared. Prep time should always start with cleaning and sanitizing everything.
Yes, you read that right — everything. There are probably things in your home gym that you haven’t used in forever that are full of dust bunnies. You don’t want to track that everywhere around the house or bring it into your new place. So, before you do anything else, clean your home gym piece by piece.
Step #2: Take Pictures
Disassembling gym equipment is much easier than assembling it. So, in order to avoid a hassle once you do actually move, take a picture of every piece of equipment you have from multiple angles. If there are specific pieces that have something particular about them, take a close-up photo of that as well.
Taking pictures of everything will help you after you start unpacking your home gym at the new place. Of course, the manuals will help more, but it’s always good to have a reference picture.
Step #3: Move the Accessories First
When you actually start packing, move the lightweight stuff first. So all your gym clothes as well as accessories such as yoga mats and blocks, jump ropes, steppers, etc. If you have a lot of these smaller pieces, make sure you have enough moving boxes for them and that they are all secured in them.
Step #4: Work Your Way Up
After you’ve prepared the small stuff, you can start working on the bigger things. Pack up your dumbbells, hand weights, and barbells. It’s better if you wrap each piece of equipment in bubble wrap and then place a few of them in a moving box.
What’s more, it’s also better if you stick to smaller boxes and have multiple of those than to try shoving everything into one big box that you won’t be able to lift or move quickly.
Even if you’re sticking to the few pieces per box plan, still check to see if your boxes are strong enough to endure the weight. You don’t want your dumbbells rolling everywhere just because your box gave in.
Moving Your Weightlifting Machines
Weightlifting machines are probably the most difficult ones to move. They are often complicated and require a lengthy disassembly process. Before you actually try to take the machine apart on your own, check the manual and see if there’s a disassembly protocol that you should follow. If there is, do that.
All screws, nuts, and bolts need to be secured before you pack up the machine. It’s best if you pack them in a bag or a smaller box and tape that box to the biggest part of the machine. That way, you won’t misplace them or confuse them with the connecting pieces of another device.
Once you’ve disassembled the machine, wrap every piece in bubble wrap. If individual pieces can fit in boxes, pack them in. However, if they can’t, secure them with a moving blanket or towels and blankets you have on hand.
Moving Your Treadmill
Treadmills are the easiest equipment to move because you can usually break them down into two parts, both of which are flat. Keep in mind that some treadmills are quite heavy. Check to see how heavy yours is and, if it’s over 100 pounds, get a transport dolly to move it.
If you need to disassemble the treadmill, do it by following the manual. Just like with the weightlifting machines, make sure you don’t lose the hardware. Tape it to the treadmill.
If your treadmill is collapsible, then, once you collapse it, make sure you keep the security key where you can later find it. Also, secure the collapsible part to the standing part with ropes or sturdy tape. Wrap the treadmill in bubble wrap or moving blankets to protect it.
Moving Your Elliptical and Stationary Bike
Elliptical and stationary bikes don’t have the nice, flat shape of a treadmill. Therefore, transporting them isn’t as straightforward. While you can easily strap a treadmill to the roof of your car, you’ll need a different type of transport vehicle for ellipticals and stationary bikes.
The most important thing to pay attention to is the handles that stick out. You have to ensure that you’ve secured them with bubble wrap or any other sort of protective gear, so you don’t damage the walls while taking the equipment out (or injure the people who are helping you or moving you).
If you can disassemble your elliptical and/or stationary bike, do it. If you can’t, then make sure you’ve used enough protective wrap.
A Few Parting Words
Always make sure that all your equipment is secured during transport. In other words, all stationary equipment should remain stationary at all times. If something moves during transport, you’ll probably have your hands full of broken home gym pieces at the end of the road.
Finally, if you’re moving or loading the equipment into the moving truck yourself, make sure to lift it carefully. Most of the equipment shouldn’t weigh much once you’ve disassembled it, but it never hurts to be extra careful! After all, you don’t want to throw out your back.
![]()


Follow Us