


A Powerful Backbend
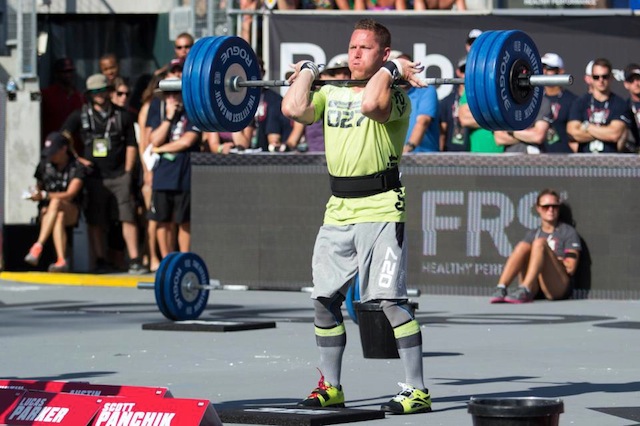
We all know there’s more to training than just showing up for the daily WOD. CrossFit is a demanding sport that requires the perfect synergy between sleep, diet, rest and training.
Part of fine tuning our training quite often means working on our mobility and flexibility outside of the box.
As the 2013 Games season gets underway we thought it was the perfect time to give you at least one stretch a week that is effective and easily implemented into your CrossFit routine.
That said, today’s stretch of the week is a deep backward bend. A stretch less commonly found in your local box but one that is bound to bring relief to those areas we tend to neglect when mobilising.
What is it?
This stretch is an intense backbend, known in the yoga world as the camel pose (or Ustrasana). But you don’t have to be a yogic specialist to conquer this stretch and receive its benefits.

What are the benefits?
While there are seemingly endless benefits for this deep stretch here are a few of the main ones:
– Comprehensive front body stretch including: the groin, thighs, ankles, shoulders, abdomen and most importantly (for CrossFitters) hip flexors.
– Strengthens and lengthens back muscles.
– Improves posture, respiration and digestion.
– Tones thighs, arms and abs.
How is it done?

The Camel Pose Modification
1. Kneel on the floor with feet flat and thighs perpendicular to the ground. Ensure the knees are hip width apart but the thighs are slightly turned it.
2. Rest the hands on your lower back with fingers pointing down. With a slightly tucked chin set your gaze as far behind you as you can manage and imagine you are tilting your sit bones up (without tensing the buttocks too much).
3. Press the tops of your legs and feet firmly into the floor. You should feel the stretch starting to work by this point. If the stretch is coming on strong in this position there is no need to go any further for now, so just hold for a good minute.
4. For those wanting a little more, start to move the hands down from the lower back and stopping at the heels (without grasping too tight). Keep the fingers pointed down and rest the thumbs on the outside foot.
5. To lengthen the spine lift up through the pelvis and allow the head to drop without straining the neck.
6. Relax in this position for just under a minute (although if you hold it for a little longer, that’s even better)
Things to note
It is important to exit this pose with grace and patience. Slowly work the hands back up to the lower back. Gently tilt the head and torso up by pushing the hips down. If you’re head has managed to work its way some distance behind your body, lead with the heart to bring it back to normality.
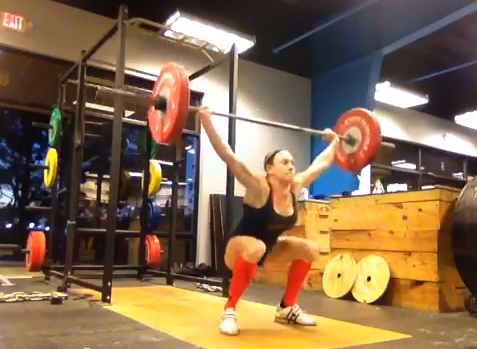
Check out the video below for a little more guidance.
![]()


Follow Us